How To Clean a Dryer Vent: 18 Steps (With Pictures)
Steps:
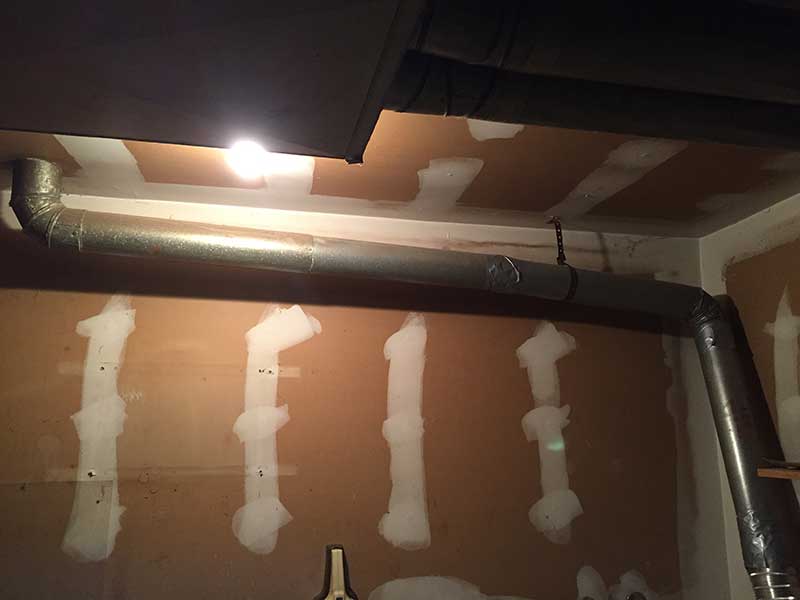
Step 1. Make sure you can get access to the whole dryer vent.
You
can’t clean out your dryer vent if you don’t have access to it, and you may be
surprised at how difficult these ducts can be to access. Before you begin,
check and make sure you have access to the entire vent, as you will need to
clean the entire duct all the way to where it leads outside
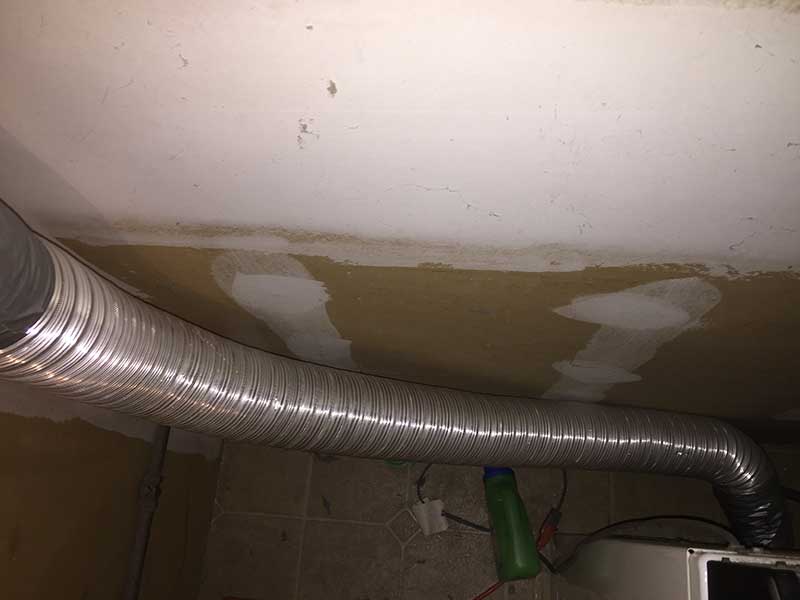
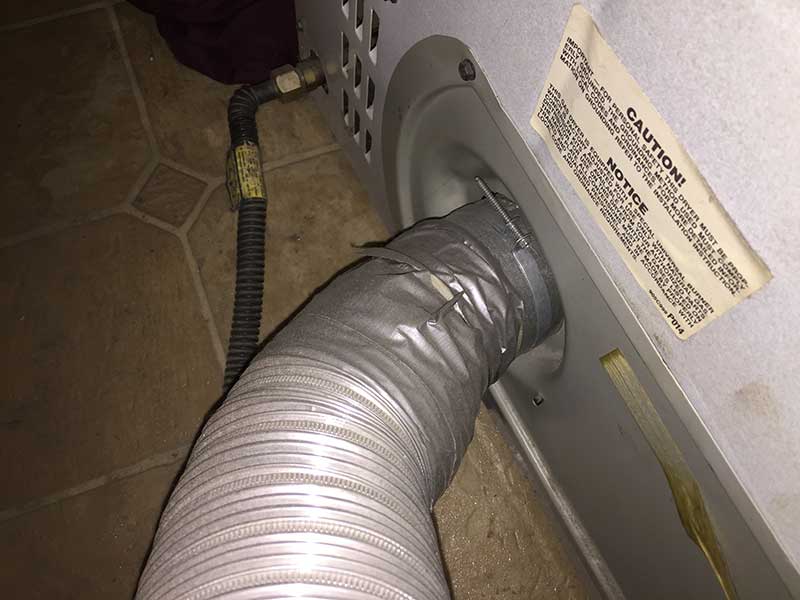
Step 2. Access the back of the dryer machine
This includes making sure you have ready access to the back of the dryer, so be sure to pull it away from any walls in order to reach the back of the dryer.
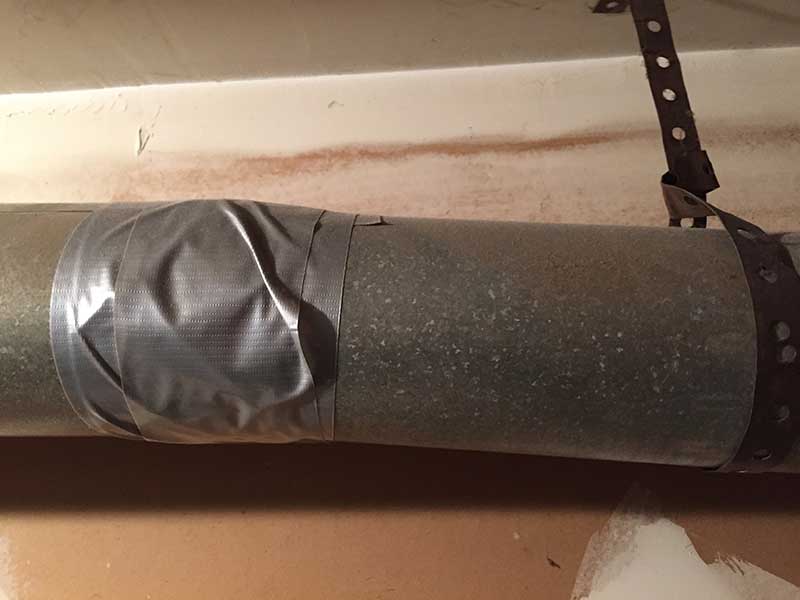
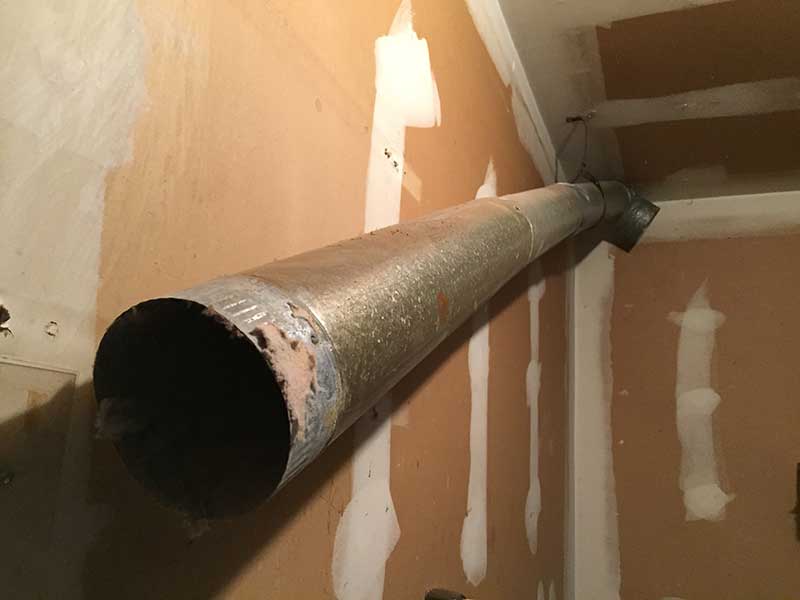
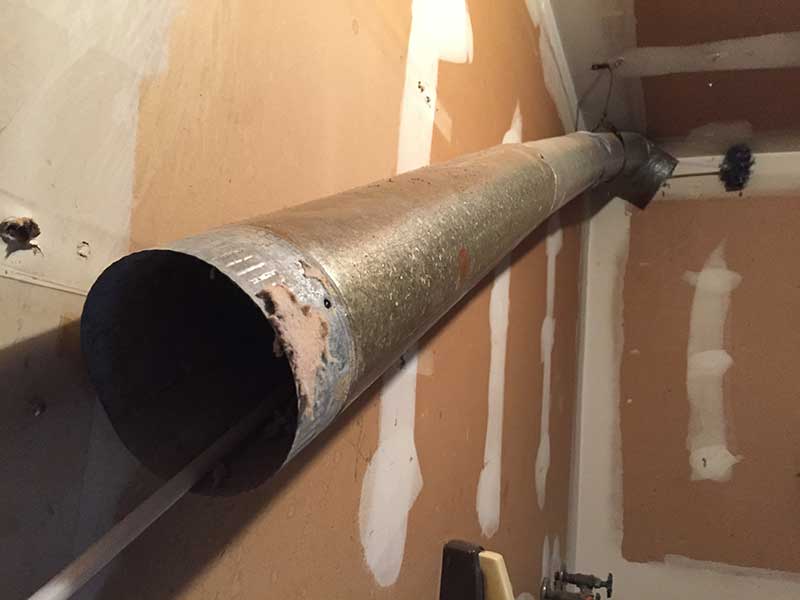
Step 3. Start taking the vent apart.
Remove the duct tape that divides the dryer ducting into sections. This way you can pull apart and clean the dryer vent one section at a time.
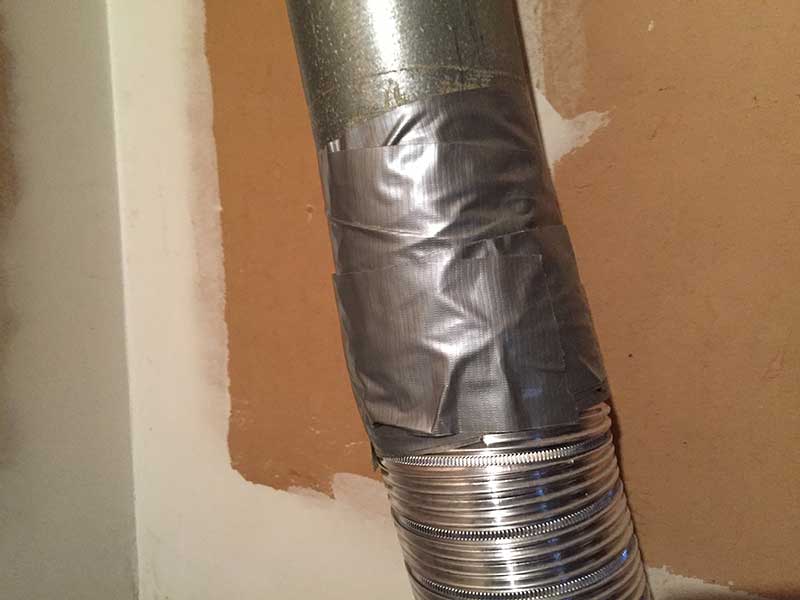
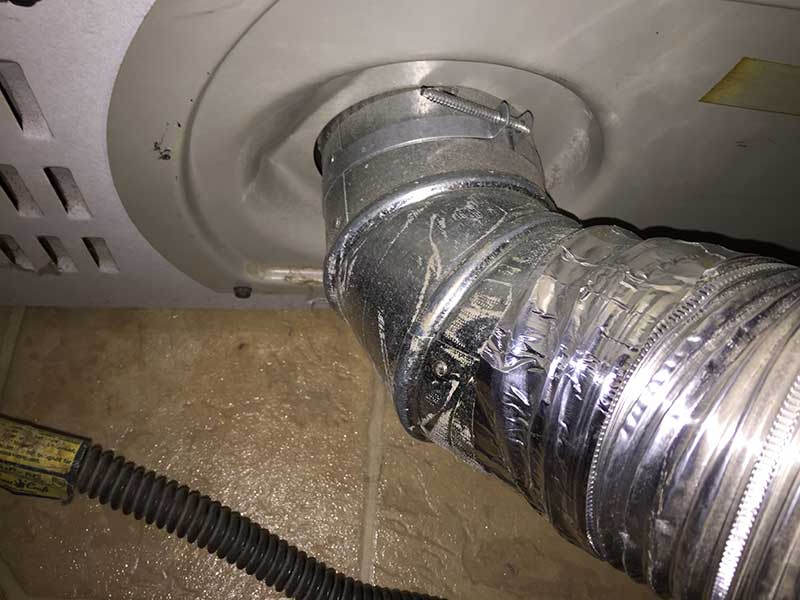
Step 4. Take vent apart where it connects to the metal dryer vent.
Once again this includes where the flexible ducting is connected to the dryer from the back. Remove the duct tape carefully and keep a close eye on the duct.
Step 5. And behind the dryer machine as well.
Check to make sure you've found and pulled apart all duct taped sections, including the ones behind the back of the dryer. All the way from the outside to the dryer!
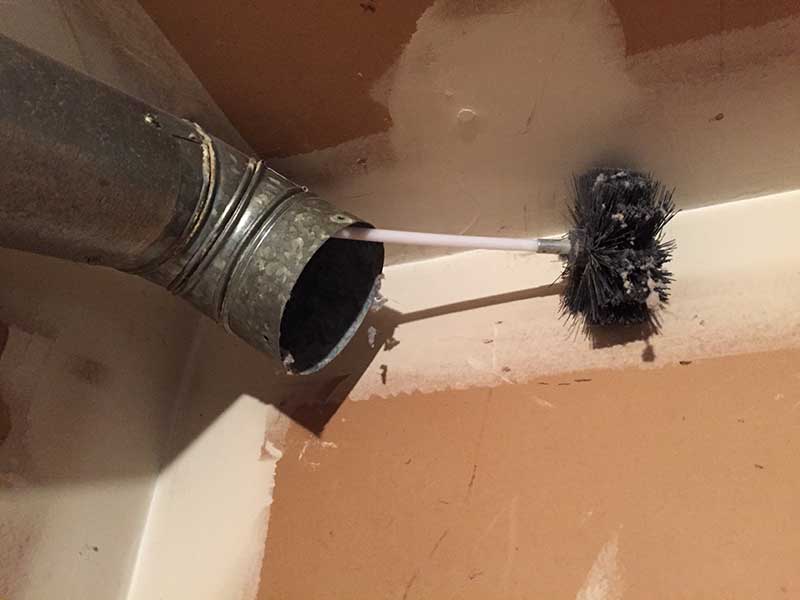
Step 6. Brush dryer vent by sections.
Scrub the inside of the vent using a dryer vent brush. Make sure to take your time in each section and check with a flashlight to be sure all the debris is removed. Spend quality time to ensure everything is neat and clean.
Step 7. Use a dryer vent cleaning kit brush.
You can use a dryer vent brush such as the Gardus LintEater 10-Piece Rotary Dryer Vent Cleaning System; we recommend this kit because you can reach up to 12 feet with it. Moreover, you can buy more kits if you have more than 12 feet to scrub.
Live In NJ Or PA And Never Had This Done? Contact Us For A Price
Would Like Your Vent Cleaned?
Step 8. Reach end of the duct.
Make sure you go all the way to the end of the duct with scrubbing. It’s important as sometimes the dirt accumulates in the end of the duct.
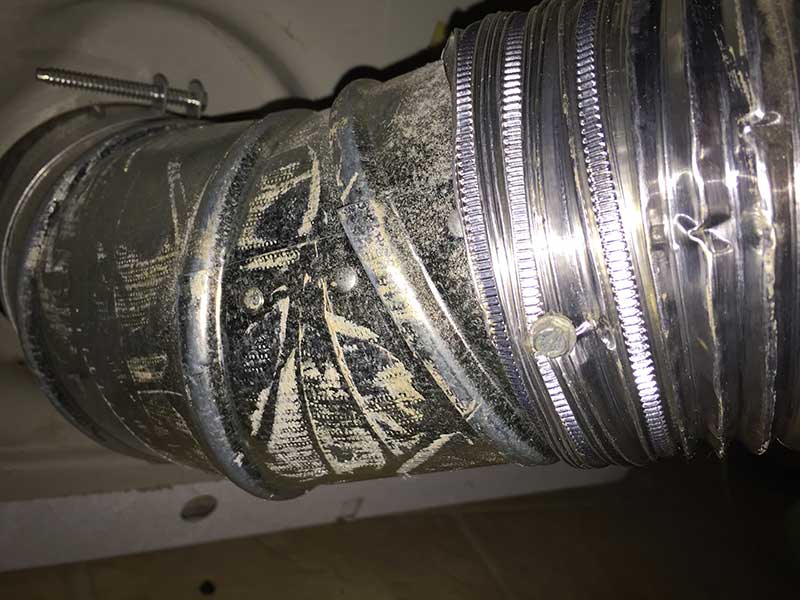
Step 9. Watch the screws properly.
While you are scrubbing, check for screws inside the dryer vent. Screws are not recommended as a connection method.
Step 10. Brush dryer vent carefully.
Include all elbows and curved joints. You'll want to pay particular attention to these areas because that is where dangerous lent tends to ball up due to the natural curve in air flow.
Step 11. Take care of parts.
It is important to remember which part goes to outside, so don't forget the vent that leads to it. This can often trap particles and needs a lot of scrubbing.
Step 12. Dryer machine part.
Don't slack on scrubbing near the dryer port where it connects to the back of the dryer.

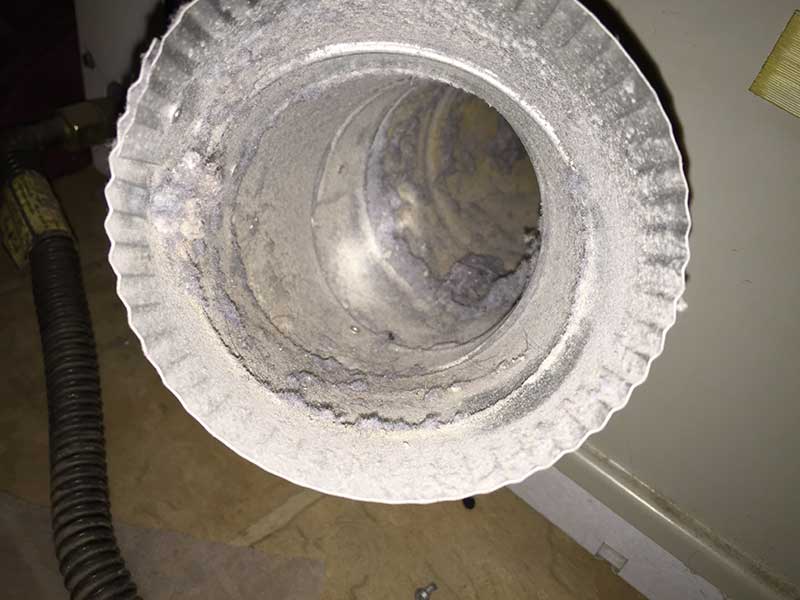
Step 13. Double check the cleaning.
Even if you are sure you scrubbed it good, double check the dryer port. The dryer port is where the initial lent gets dumped and is also closest to the most, sticky air from the dryer where everything sticks. Use a flashlight to carefully examine the area and make sure you got everything.
Step 14. Use foil tape to seal every connection.
Take a moment to carefully examine all the sections and make sure you didn't miss anything. (You're probably annoyed by the fact that we keep repeating this, but it is very important. The lent in your machine is a fire hazard. So much so that almost 3000 people a year lose or have their homes severely damaged in a dryer lent related fire every year! You’re only going to have this opened up once, so make sure you double and even triple check that all the lent is removed!)
When you are sure that there is no more lint, go ahead and begin taping it back together using fresh duct tape.
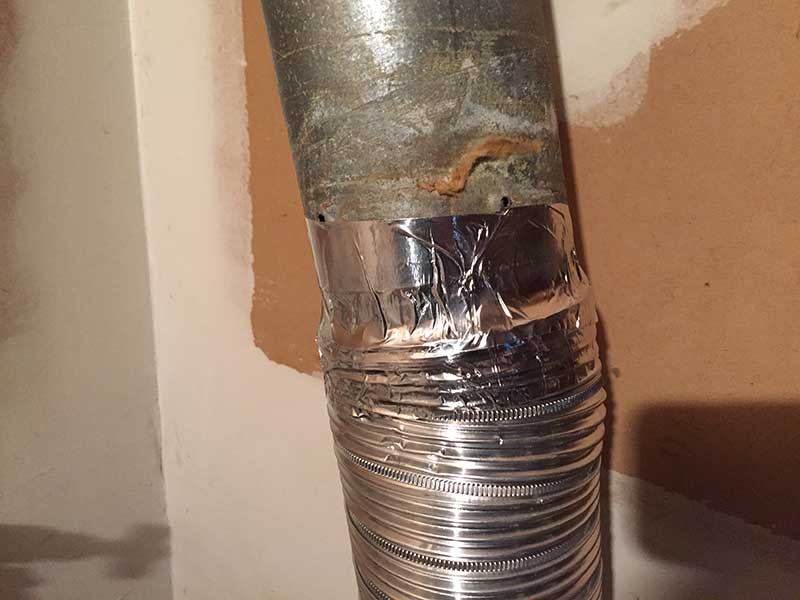
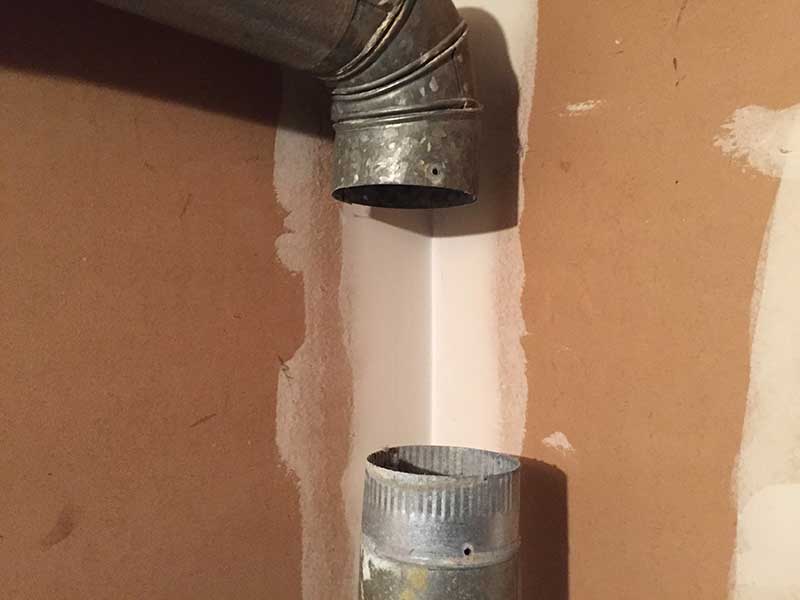
Step 15. Seal where flexible part connects to the metal vent.
Seal up the joint where it curves extra well, so the lent doesn't escape or the whole duct fall apart.
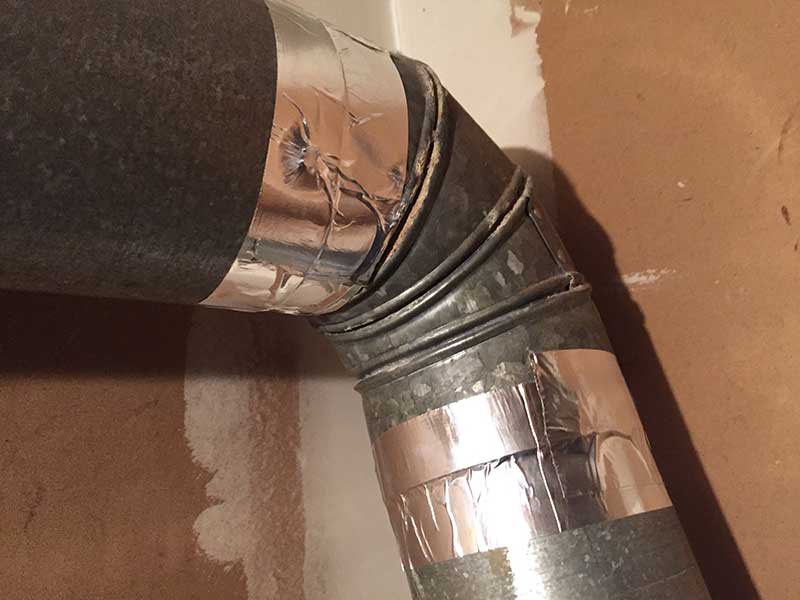
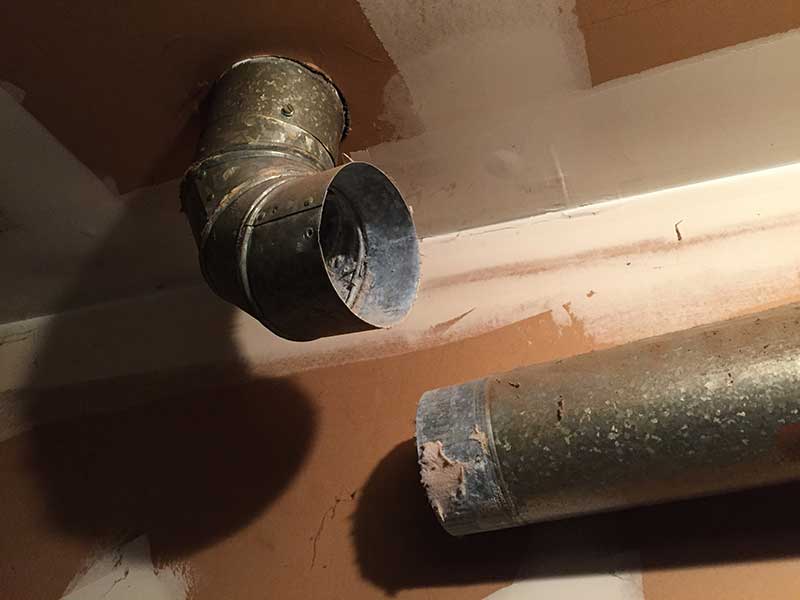
Step 16. Seal where dryer vent is making a turn.
Seal up where the dryer and vent meet. A lot of people forget this important part and thus face a lot of problems in the future. Make sure you seal that perfectly.
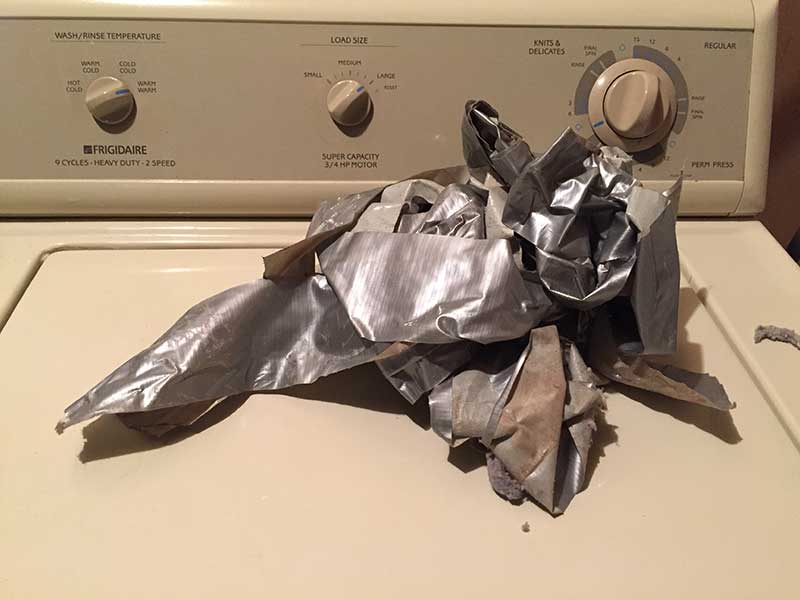
Step 17. Pickup all the duct tape.
Once everything is secure, throw away all the old duct tape, sweep up any lent mess you may have made, and push your dryer back into place. You're done!